
In this article we will go through the steps required to set up C++Builder. By the end of this article you will have learnt how to set up your development environment and will be ready to build your first project. Let’s go through the steps one by one.
Steps
If you use Windows you can move to the first step. If like me you don’t use Windows, you will need to make use of a virtual machine to host windows on your device. Once you have installed a virtual machine and set up the Windows environment, you can move to the first step.
First Step: The first step is to create an EDN (Embarcadero Developer Network) account. Visit this page to complete the form and set up your account, and download RAD Studio.

Second Step: Once you have downloaded the executable file, the next step is to install it. Read through and accept the license agreement and privacy policy before installing the file.
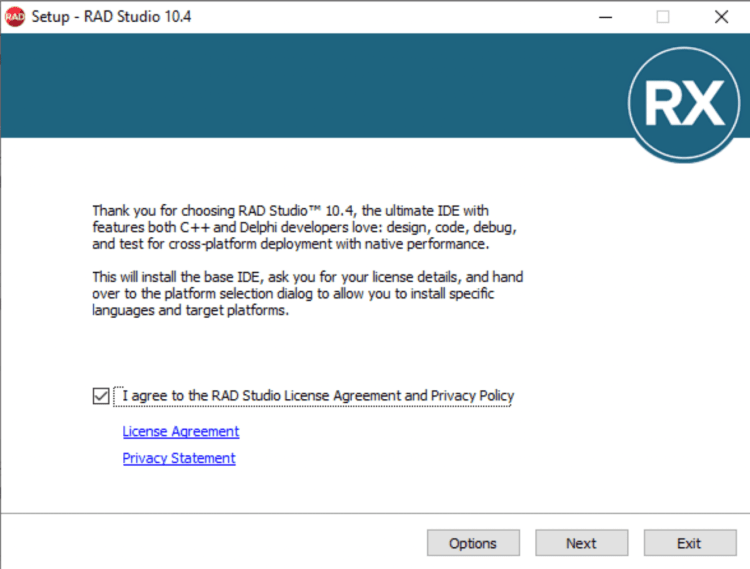
At the start of the installation process you will be asked to enter your license information. Once you create your EDN account your licence information will be sent to your email address.
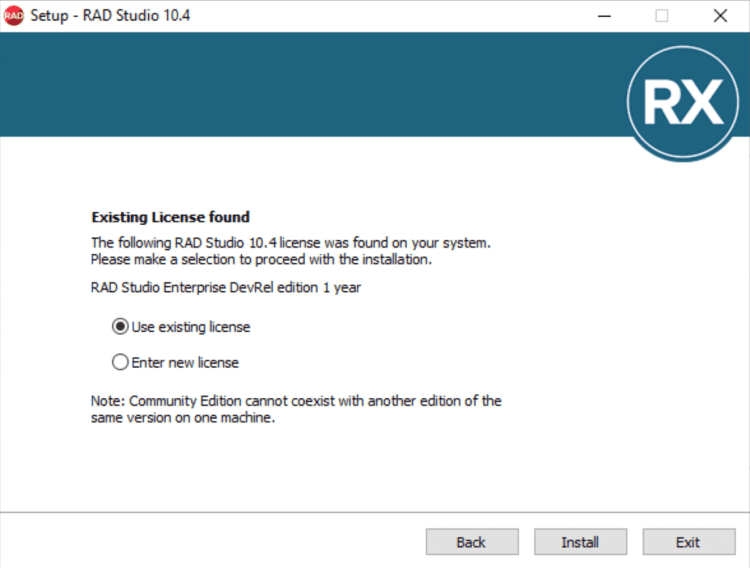
Enter your license information and click on install to continue the installation process.
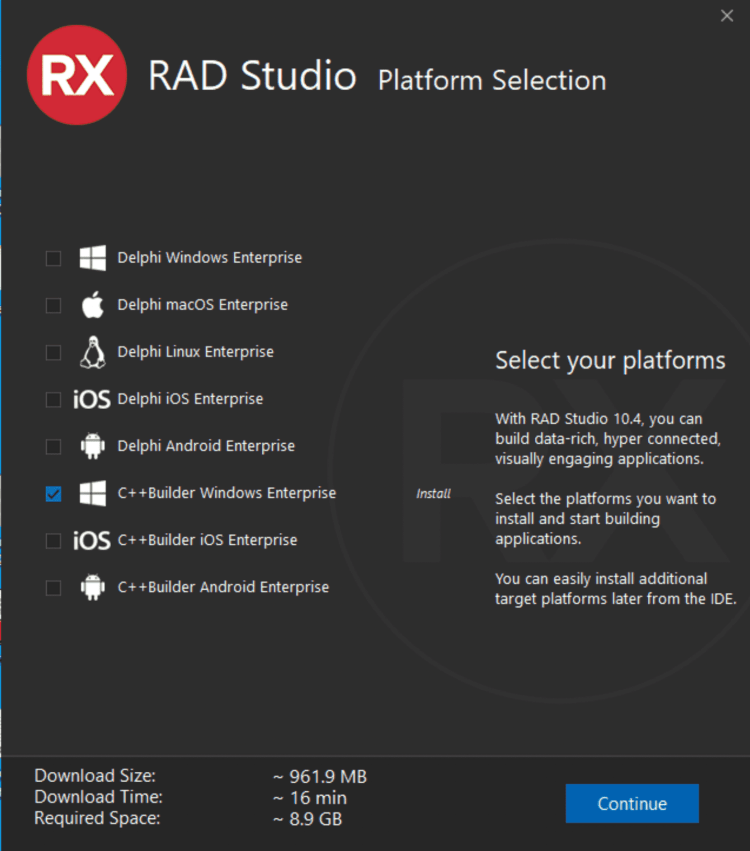
While installing RAD Studio, you will be asked to select the platforms you intend to target in the development process by ticking the boxes that apply in the RAD Studio Platform Selection tab. The last three options are for C++Builder. You can choose the operating system you plan to support, such as Windows or iOS.
You can also select additional options like languages, samples, unit testing frameworks (see next image). Including samples is recommended, as they will be very useful while working with C++Builder. Selecting samples installs a local copy of the sample apps present on GitHub. If you speak French, German, or Japanese, you can add these languages and run C++Builder in your preferred language. TeeChart is a third party charting (graphing) library. It’s a great package for making graphs. DUnit is used for unit testing, and Interbase is an embedded database. Selecting Interbase Express Components installs the components needed for making use of the database, while selecting Interbase 2020 Developer Edition installs the database itself. Select the options you expect will be needed.
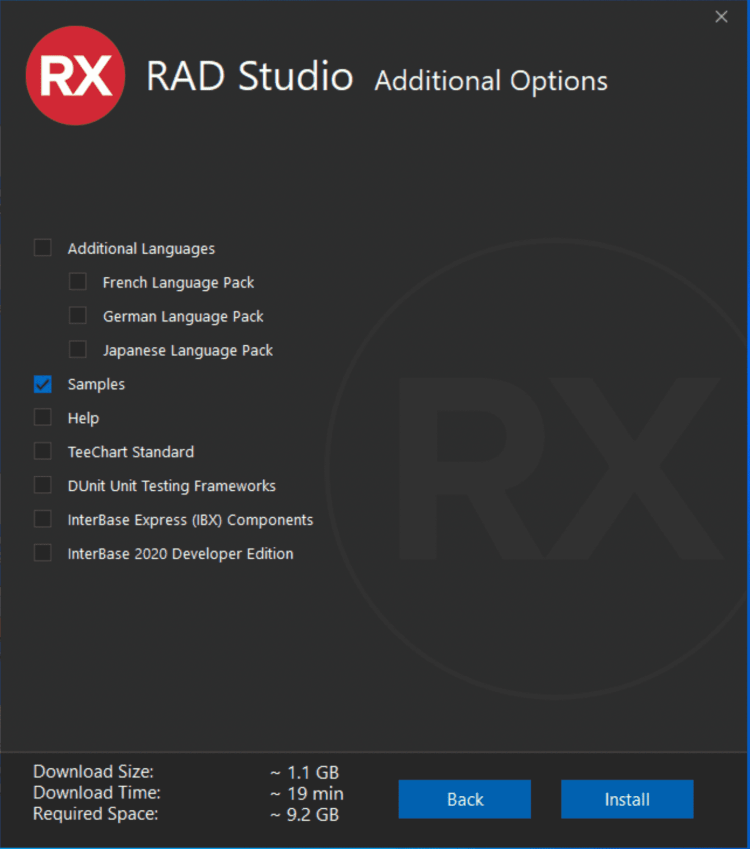
After setting your preferences, click install. This will download all the required files for installation.

Once all the files have been downloaded, the process is almost complete. Next you will be asked to choose your preferred theme. There is a Light theme, a Dark theme, and a Mountain Mist theme. The Mountain Mist theme was introduced recently in version 10.4.2,and has a soft gray shade. I personally prefer the Dark theme but chose the Light theme here for illustration purposes.

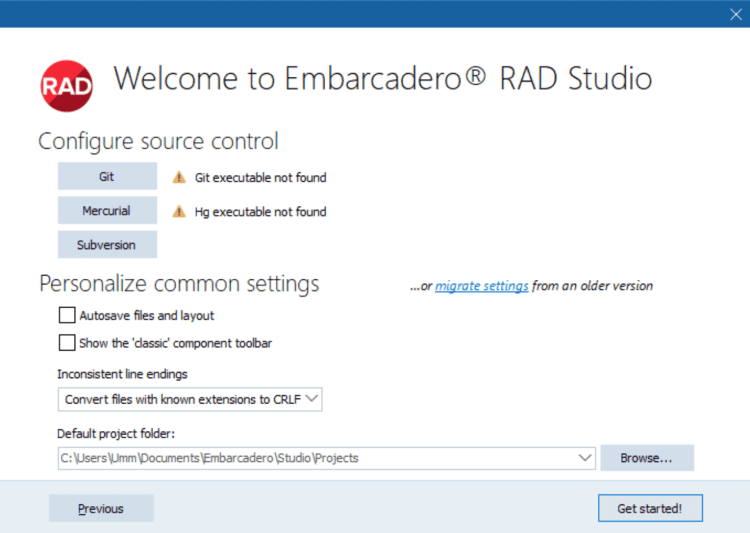
After selecting your preferred theme, you will be asked to choose a default location to save your projects. I recommend ticking the ‘autosave files and layout’ option to prevent losing important files while developing applications. You can also configure source control.
Third Step:
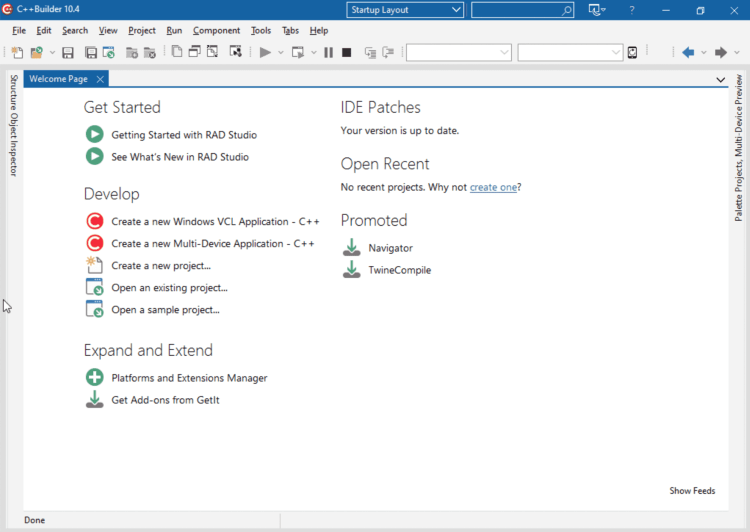
Congratulations, you have successfully installed RADStudio and C++Builder! Upon clicking the “Get Started” button you will be directed to the Welcome Page. You are now a few steps away from building your first project. The Light and Mountain Mist themes look similar. Hence, I have applied the Mountain Mist theme in the next image to show the difference between the two. While the Mountain Mist theme has a grayish background, the Light theme has a bluish one.
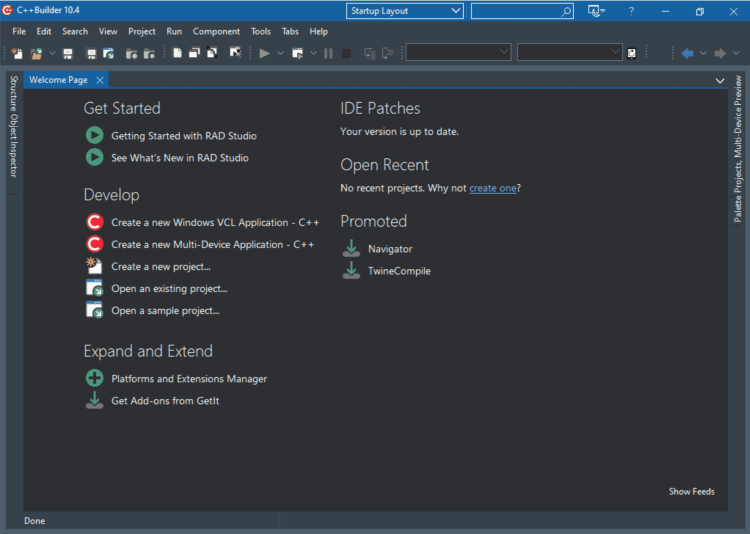
I have applied the Light theme in the next screenshot. Personally, I am able to concentrate better when I make use of the dark theme. If you change your mind and choose to use a different theme, don’t panic, you can still do so. A little button on the title bar by the left of the ‘?’ symbol can be used to change the theme.

Wow, I quite love the Dark theme! Isn’t it pretty?
Fourth Step:
To start building your C++ application, simply select your preference on the welcome screen. You can choose to create a console application, a Windows application, or a multi-device application.

If you’ve reached this stage, you are all set to go. You can now start writing code and designing beautiful user interfaces. I hope you are excited just as I was when I first used C++Builder!
Design. Code. Compile. Deploy.
Start Free Trial
Free C++Builder Community Edition

